| Tom Hundt's Infomonger Pages | ||
| Mercedes-Benz Tinkering - Dash Cap Installation | ||
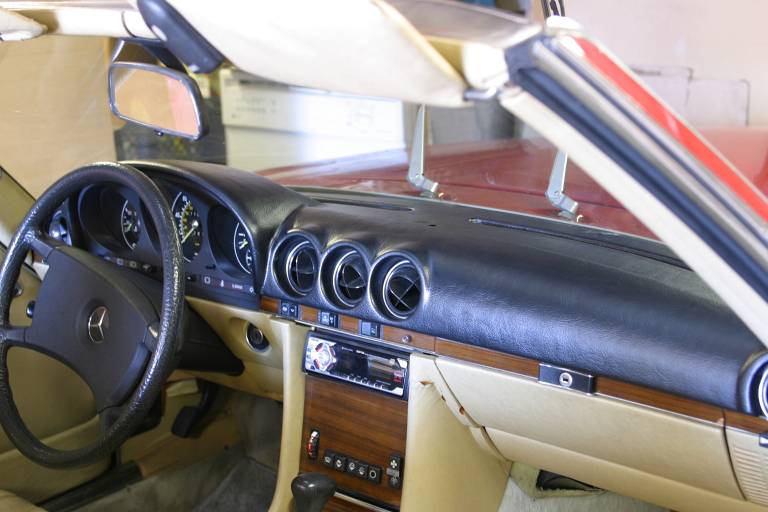
On October 5, 2003, I installed a "Dashtop" brand dash cap on my '83 380SL. The original dash was cracked and dull looking (which is typical for these cars) and this totally renewed its looks.
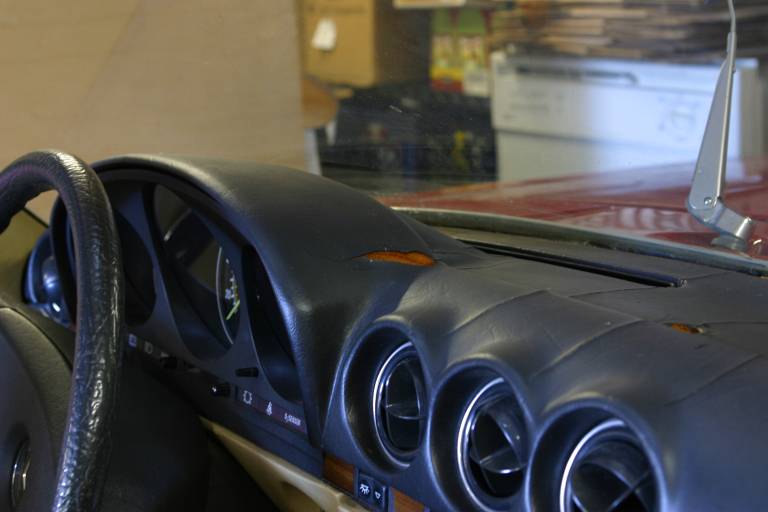
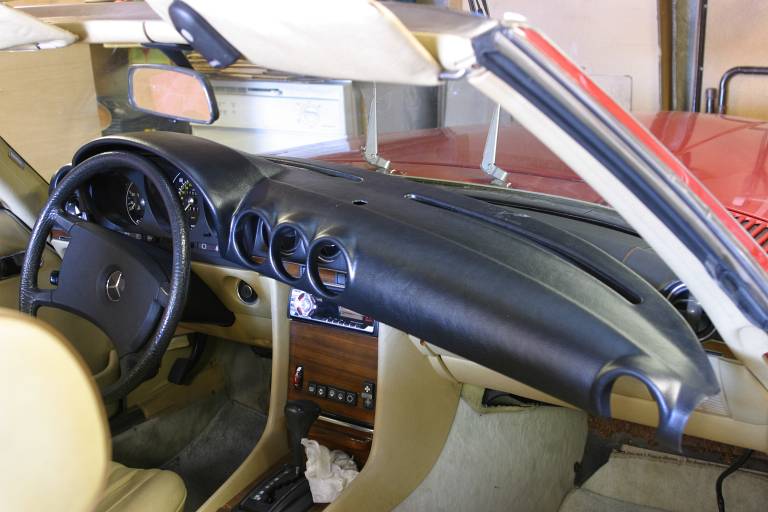
Here's the way the dash looked.
Notice the big honkin' hole, revealing the orange foam that is inside the dashboard.
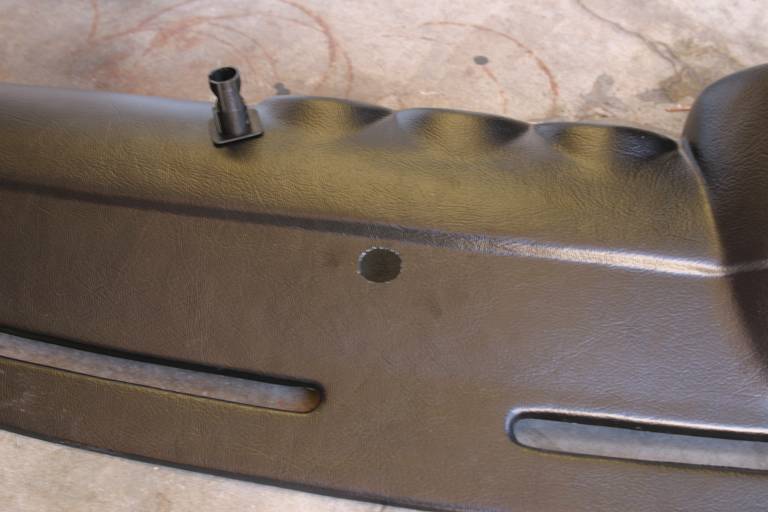
Here's what came in the box.
The plastic top, some glue, and some instructions. The top is
made of thin but flexible plastic, about 1/8 inch thick all
around. It looks like cheap plastic but is made with precision,
and (it turns out) fits really well.

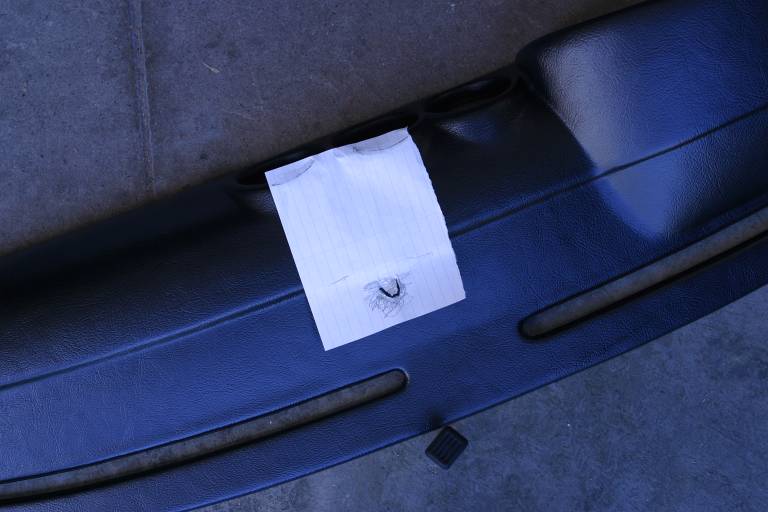
I made a template using a piece of paper, and aligned it with the
vent openings. I laid it on the original dash, and marked the
spot where the temperature sensor was.
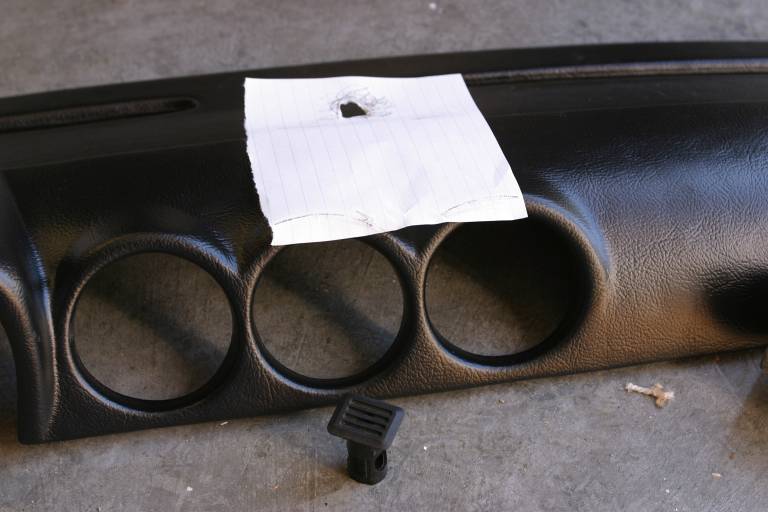
Then, I moved the
template to the dashtop, and marked the spot with a sharp object.
I cut an appropriate hole with a handy knife.
The temperature sensor sits in a tube with slits in the cap.
The edges of the hole you cut end up being hidden under the cap.
Also, I was worried about being able to remove the instrument
(gauge) cluster in the future, and didn't want to risk damage
caused by stuck glue. (The top curves around and into the
cowling of the gauges slightly.)
Much much better than new. An old boss of mine used to
say that. I think it's appropriate.